GET STARTEDQUICK START
Quick start
This guide makes BP_MySwitch, a switch the demo character can use from any side. Each press of E clicks the switch and moves it to its other state. You do it in six steps, with no code.
You need
Section titled “You need”- Character Interaction System enabled in your project, as in Installation.
- The plugin content visible in the Content Browser: open Settings and turn on Show Plugin Content.
- The demo map
/CharacterInteractionSystem/Demo/Levels/CISExampleMap, which has the demo character.
Then follow these steps in order.
-
In the Content Browser, choose Add › Blueprint Class, pick Actor as the parent class and name the Blueprint BP_MySwitch. Open it and add a Static Mesh component. Set its Static Mesh to the engine’s /Engine/BasicShapes/Cube; if Cube is not in the mesh picker, turn on Show Engine Content in the picker’s settings. Set the component’s Location Z to 100 and its Scale to 0.2, so the switch sits at hand height.
-
Add the interaction object component. In the Components panel, click Add, search for
CISInteraction Objectand add it. Its class isUCISInteractionObjectComponent, and its component name isCISInteractionObject. -
Select
CISInteractionObject. Under Settings, set Initial Object State toCIS.Button.SwitchOff. The demo tags ship with the plugin, so they are available in every project that has it; to use your own tags, add them in Project Settings › GameplayTags. -
Under Interaction Settings › Interaction Sides, click + to add a side. Set Interaction Angle Min and Interaction Angle Max to 0 and turn on Angle Side. With both angles at 0 and Angle Side on, the switch can be used from every direction. Leave Interaction Distance at its default, 300.
-
Under Interaction Object Side Actions, click + twice and fill the two entries:
- Entry 0: Required State Tag
CIS.Button.SwitchOff; Interaction Object ActionBP_PlaySoundAction; SoundS_Switcher_Cue; New State After Finish ActionCIS.Button.SwitchOn. - Entry 1: Required State Tag
CIS.Button.SwitchOn; Interaction Object ActionBP_PlaySoundAction; SoundS_Switcher_Cue; New State After Finish ActionCIS.Button.SwitchOff.
Leave Set New State After Finish Action on in both entries, so the switch changes state when the Action finishes, right after the click starts.
Settings Interaction Settings Interaction Sides 1 Array element Index [ 0 ] Interaction Angle Min 0.0 Interaction Angle Max 0.0 Angle Side Interaction Object Side Move Handler Interaction Object Side Actions 2 Array elements Index [ 0 ] Required State Tag CIS.Button.SwitchOff Interaction Object Action Sound S_Switcher_Cue New State After Finish Action CIS.Button.SwitchOn Instancing Policy Net Execution Policy With Replication Index [ 1 ] Required State Tag CIS.Button.SwitchOn Interaction Object Action Sound S_Switcher_Cue New State After Finish Action CIS.Button.SwitchOff Instancing Policy Net Execution Policy With Replication Action Execution Type Debug Data Interaction Distance 300.0 Angle Detection Component Override Character Interaction Angle Override Character Interaction Angle 0.0 Object Interruption Type Override Object Use Time Override Object Use Time 0.0 Visible Conditions 0 Array element Usable Conditions 0 Array element Override Data Object Class Data Object Class None Object Priority Transfer Ownership During Use Manage Owner Dormancy Max Use Duration 0.0 Initial Object State CIS.Button.SwitchOff The interaction object settings of BP_MySwitch after steps 3 to 5 - Entry 0: Required State Tag
-
Place it and play. Open
/CharacterInteractionSystem/Demo/Levels/CISExampleMap, drag BP_MySwitch into the map near the demo character’s start, click Play, walk up to the switch and press E.
Key settings
Section titled “Key settings”| Setting | What it does |
|---|---|
| Initial Object State | The state the switch has when the game starts. The action the character runs depends on this state. |
| Interaction Angle Min and Interaction Angle Max | The range of directions around the switch, measured from its forward direction, that the character can use it from. |
| Angle Side | Uses the part of the circle outside the range between the two angles. With both angles at 0, the switch works from every side. |
| Interaction Distance | How close the character must stand to the switch, measured flat (height is ignored). The default is 300. |
| Required State Tag | The state an action runs in. A state with no matching action cannot be used. |
| New State After Finish Action | The state the switch takes when the action finishes. |
Check that it works
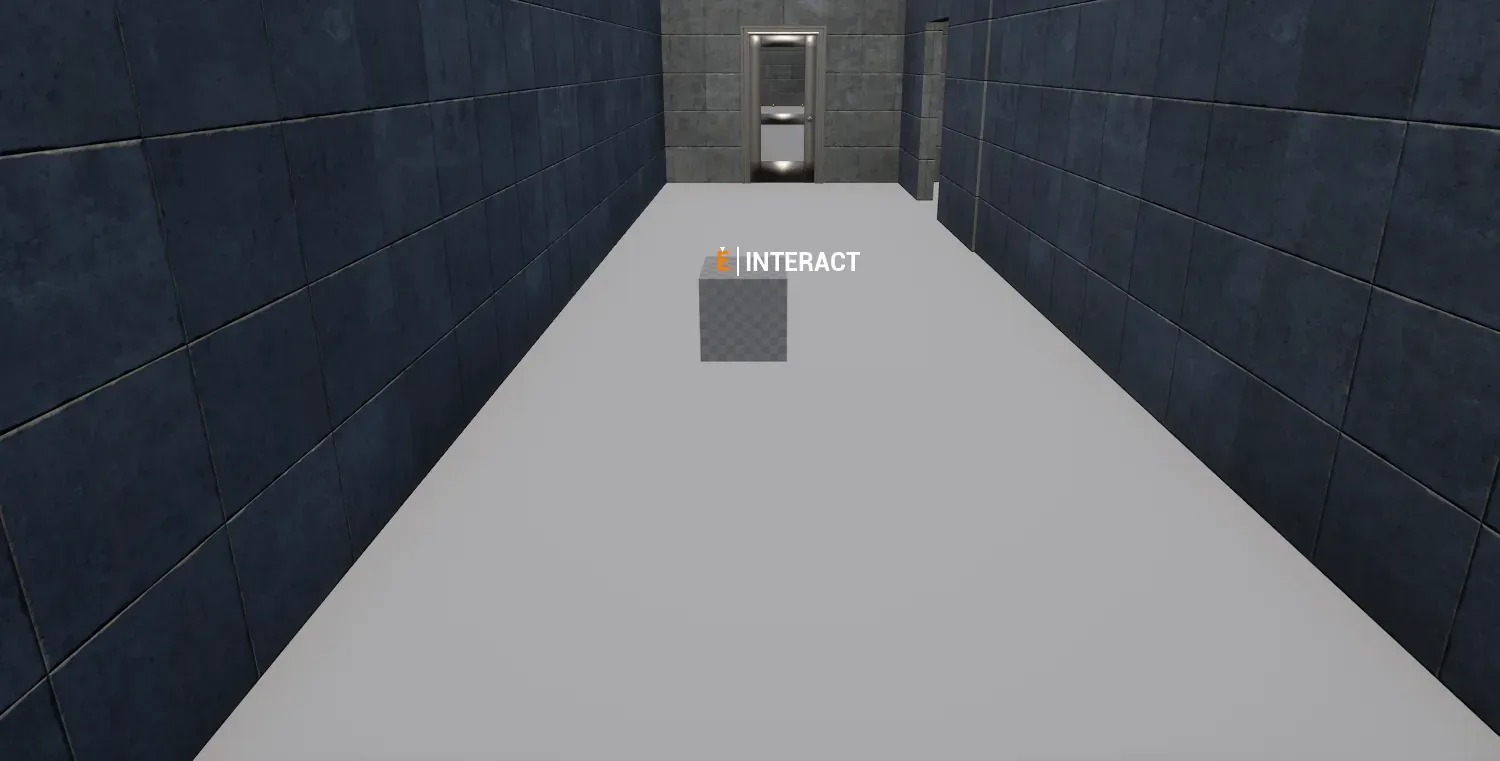
Section titled “Check that it works”- Press E near the switch: it clicks and changes state. Press E again: it clicks back.
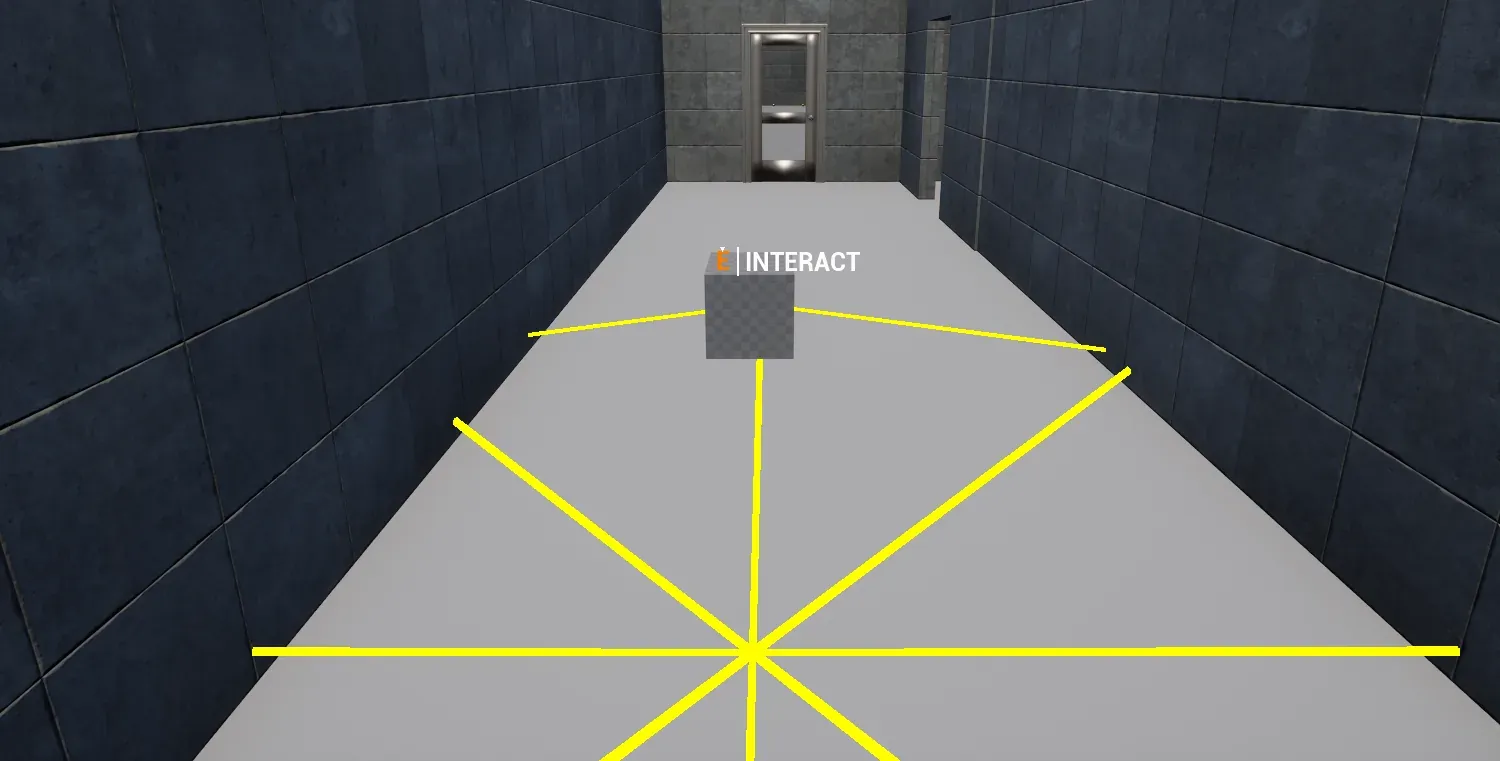
- To see the side the switch can be used from, turn on With Debug in Game under Settings › Debug in the component’s settings, and play the map again.
If something is off
Section titled “If something is off”- Nothing happens and the character is far away: the character must stand within Interaction Distance of the switch.
- Nothing happens from any side: the character finds an object only while its trigger overlaps one of the object’s components. The Blueprint needs a component with collision that generates overlap events. A Static Mesh with the default collision has both. A Skeletal Mesh needs a Physics Asset, and Generate Overlap Events turned on.
- Nothing happens and the character is not facing the switch: the demo character’s Interaction Angle is 120, and the switch must lie within half of that angle from the character’s forward direction.
- Nothing happens although you are close and facing it: the current state has no action. Check the Required State Tag of both entries in step 5, and Initial Object State in step 3. To see why a use is refused, type
log CISLog Login the console, play again and look forCISLoglines in the Output Log. - The switch changes state but makes no sound: check that Sound is set in both entries.