GUIDESTWO-SIDED DOOR
Two-sided door
This guide makes BP_MyDoor, a door the character can open and close from either side. Each side has its own approach point and two montages: one that opens the door and one that closes it. The character walks to the point of the side it stands on and plays a montage, and the door plays its own montage. You do it in six steps, with one short graph and no other code.
You need
Section titled “You need”- You have followed Quick start, so you know how a side and its actions are set up.
- The demo door mesh
/CharacterInteractionSystem/Demo/Meshes/Door/Door_Rig. Its montages, which ship with the plugin, are named in steps 3 and 4. - The demo classes
BP_InteractionObjectActionPlayMontageandBP_MoveToComponentMoveHandler, which ship with the plugin. - The demo move handler moves only
BP_CISCharacter: with your own character the action still runs, but without the walk to the point.
Then follow these steps in order.
-
In the Content Browser, choose Add › Blueprint Class, pick Actor as the parent class and name the Blueprint BP_MyDoor. Open it and add these components:
- A Skeletal Mesh named
DoorMeshat location Y 45. Set its Skeletal Mesh to/CharacterInteractionSystem/Demo/Meshes/Door/Door_Rig, its Animation Mode to Use Animation Blueprint and its Anim Class toABP_Door_Rig_Skeleton. Without the Anim Class the door’s montage cannot play, and the door stays still while the character moves. - Two Arrow components attached to the root.
ForwardPositionis at location X 75 with rotation yaw 180, so it faces the door.BackwardPositionis at location X -75 with yaw 0. Each marks the spot where the character stands on its side. - Two Scene components attached to
DoorMesh, with no rotation.ForwardPointis at location X 7.8, Y -82.5, Z 89.5, andBackwardPointat X -6.0, Y -82.6, Z 89.5. Each is the point the character looks at on its side. - A Box Collision named
OverlapBoxwith Box Extent X 100, Y 100, Z 110 (half sizes, so the box covers the door’s opening) and Generate Overlap Events on. The character finds the door only while its trigger overlaps one of the door’s components, and a skeletal mesh added in the editor has no overlap events by default, so the box gives it one. - The interaction object component. Click Add, search for
CISInteraction Objectand add it. Its class isUCISInteractionObjectComponent, and its component name isCISInteractionObject.
- A Skeletal Mesh named
-
Select
CISInteractionObject. Under Settings, set Initial Object State toCIS.Object.Door.Closed. Under Interaction Settings, set Interaction Distance to 120. The demo door uses 120, closer than the default of 300. -
Set up the front side. Under Interaction Settings › Interaction Sides, click + to add a side. Set Interaction Angle Min to −80 and Interaction Angle Max to 80, which is the front half of the door. Set Interaction Object Side Move Handler to
BP_MoveToComponentMoveHandler, Move To This Component toForwardPositionand Looking Point toForwardPoint.Under Interaction Object Side Actions, click + twice and fill the two entries:
- Entry 0, the door closed and then opened, pulled towards the character: Required State Tag
CIS.Object.Door.Closed; Interaction Object ActionBP_InteractionObjectActionPlayMontage; Montage On CharacterAnimSequence_CharacterOpenDoorPull_Montage; Montage On ObjectAnimInstance_DoorOpenPull_Montage; Mesh Component On ObjectDoorMesh; New State After Finish ActionCIS.Object.Door.Opened. - Entry 1, the door opened and then closed, pushed away from the character: Required State Tag
CIS.Object.Door.Opened; Interaction Object ActionBP_InteractionObjectActionPlayMontage; Montage On CharacterAnimSequence_CharacterCloseDoorPush_Montage; Montage On ObjectAnimInstance_DoorClosePush_Montage; Mesh Component On ObjectDoorMesh; New State After Finish ActionCIS.Object.Door.Closed.
- Entry 0, the door closed and then opened, pulled towards the character: Required State Tag
-
Set up the back side. Right-click side 0 and choose Duplicate Item, so that side 1 starts with the same move handler and actions. Set its Interaction Angle Min to 95 and Interaction Angle Max to −95. Leave Angle Side off: the side is then the smaller arc through 180°, which is the back of the door. Set Move To This Component to
BackwardPositionand Looking Point toBackwardPoint.Then change the two entries of its actions:
- Entry 0, the door closed and then opened, pushed away from the character: Required State Tag
CIS.Object.Door.Closed; Montage On CharacterAnimSequence_CharacterOpenDoorPush_Montage; Montage On ObjectAnimInstance_DoorOpenPush_Montage; Mesh Component On ObjectDoorMesh; New State After Finish ActionCIS.Object.Door.Opened. - Entry 1, the door opened and then closed, pulled towards the character: Required State Tag
CIS.Object.Door.Opened; Montage On CharacterAnimSequence_CharacterCloseDoorPull_Montage; Montage On ObjectAnimInstance_DoorClosePull_Montage; Mesh Component On ObjectDoorMesh; New State After Finish ActionCIS.Object.Door.Closed.
Settings Interaction Settings Interaction Sides 2 Array elements Index [ 0 ] Interaction Angle Min -80.0 Interaction Angle Max 80.0 Angle Side Interaction Object Side Move Handler Move To This Component ForwardPosition Looking Point ForwardPoint Continue Tick After Finish Movement Instancing Policy Net Execution Policy With Replication Interaction Object Side Actions 2 Array elements Index [ 0 ] Required State Tag CIS.Object.Door.Closed Interaction Object Action Montage On Character AnimSequence_CharacterOpenDoorPull_Montage Montage On Object AnimInstance_DoorOpenPull_Montage Mesh Component On Object DoorMesh New State After Finish Action CIS.Object.Door.Opened Instancing Policy Net Execution Policy With Replication Index [ 1 ] Required State Tag CIS.Object.Door.Opened Interaction Object Action Montage On Character AnimSequence_CharacterCloseDoorPush_Montage Montage On Object AnimInstance_DoorClosePush_Montage Mesh Component On Object DoorMesh New State After Finish Action CIS.Object.Door.Closed Instancing Policy Net Execution Policy With Replication Action Execution Type Debug Data Index [ 1 ] Interaction Angle Min 95.0 Interaction Angle Max -95.0 Angle Side Interaction Object Side Move Handler Interaction Object Side Actions 2 Array elements Index [ 0 ] Index [ 1 ] Action Execution Type Debug Data Interaction Distance 120.0 Angle Detection Component Override Character Interaction Angle Override Character Interaction Angle 0.0 Object Interruption Type Override Object Use Time Override Object Use Time 0.0 Visible Conditions 0 Array element Usable Conditions 0 Array element Override Data Object Class Data Object Class None Object Priority Transfer Ownership During Use Manage Owner Dormancy Max Use Duration 0.0 Initial Object State CIS.Object.Door.Closed The interaction sides of BP_MyDoor after step 4. Side 0 is open; side 1 shows its two action entries, closed. - Entry 0, the door closed and then opened, pushed away from the character: Required State Tag
-
Keep the door open or closed after its animation. Select
CISInteractionObjectin BP_MyDoor, and in the Event Graph add its On Object State Changed Delegate event. Drag DoorMesh into the graph and call Get Anim Instance on it. From its return value, call On State Changed, the message of BPI_InteractionObject. Wire the event’s execution pin to the message’s execution pin, and wire the event’s New State to the message’s New State. The door’s Animation BlueprintABP_Door_Rig_Skeletonkeeps the closed or the open pose from the state it receives through BPI_InteractionObject, so without this graph the leaf swings back to closed as soon as the montage ends.On Object State Changed Delegate (CISInteractionObject)New StateDoor MeshDoor MeshGet Anim InstanceTarget is Skeletal Mesh ComponentTargetReturn ValueBLUEPRINTOn State ChangedTarget is BPI Interaction ObjectTargetNew StateThe Event Graph of BP_MyDoor after step 5. The state-changed event passes the new state to the door's Animation Blueprint. -
Place it and play. Open
/CharacterInteractionSystem/Demo/Levels/CISExampleMap, drag BP_MyDoor into the map near the demo character’s start, click Play, walk to the front of the door and press E. Then walk round to its back and press E again.
Key settings
Section titled “Key settings”| Setting | What it does |
|---|---|
| Interaction Angle Min and Interaction Angle Max | The range of directions around the door, measured from its forward direction, that the side can be used from. The front side is −80 to 80, the back side 95 to −95. |
| Angle Side | Uses the part of the circle outside the range between the two angles. It is off on both sides here. |
| Interaction Object Side Move Handler | The move handler that walks the character to the side’s point. The demo handler is BP_MoveToComponentMoveHandler. |
| Action Execution Type | When the action starts. The default, StartAfterFinishMoveHandler, starts it after the character reaches the point. |
| Interaction Distance | How close the character must stand to the door, measured flat from the door to its feet. The demo door uses 120. |
Move To This Component, Looking Point and Mesh Component On Object are component references: each one picks a component of the door. See Component references.
Check that it works
Section titled “Check that it works”- From the front, press E: the character walks to the front position and the door opens towards the character. Press E again to close it.
- From the back, press E: the door opens away from the character. Press E again to close it.
- After the character opens the door, wait until the animation ends: the door stays open. After it closes the door, the door stays closed.
- Select the door in the level. With Debug in Editor is on by default under Settings › Debug, so the sides the door can be used from are drawn in the viewport.
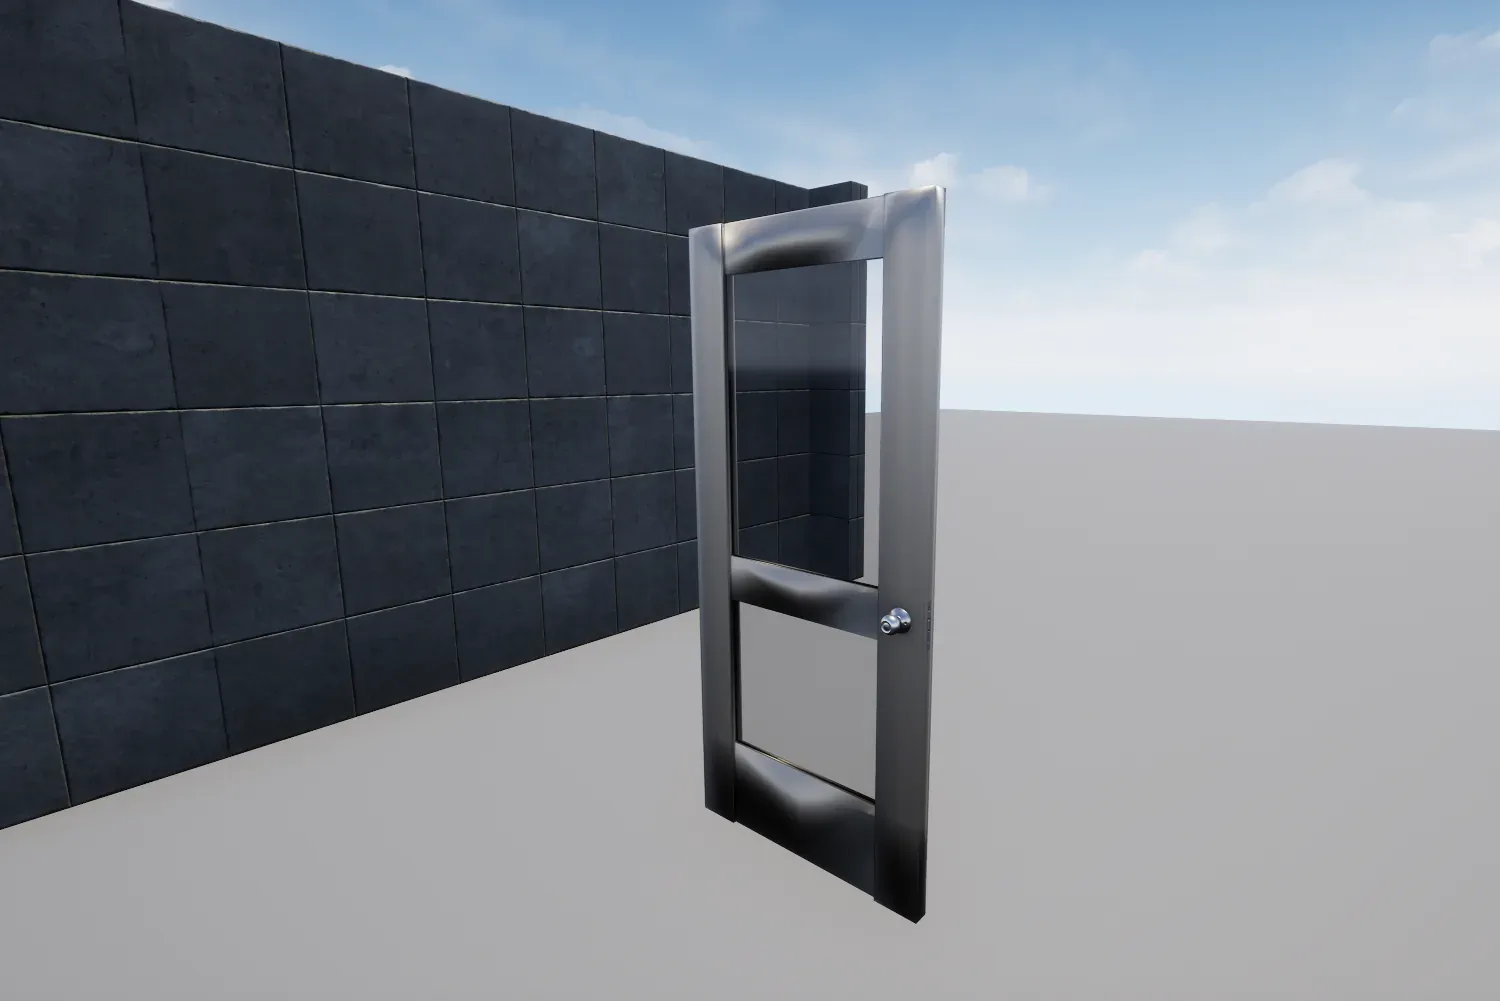
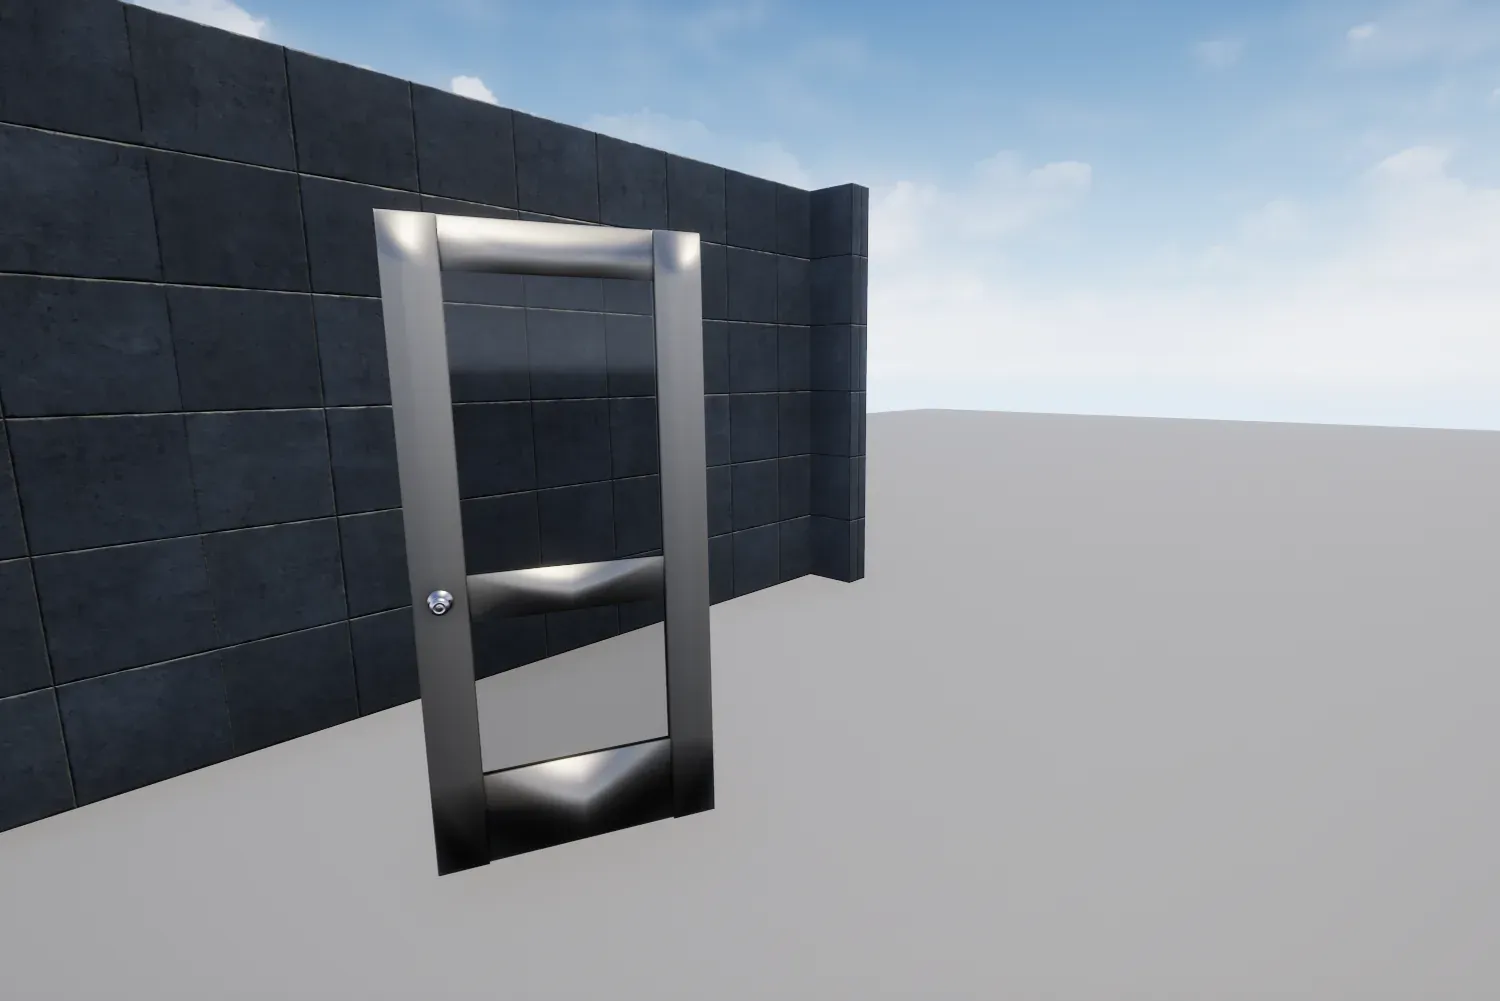
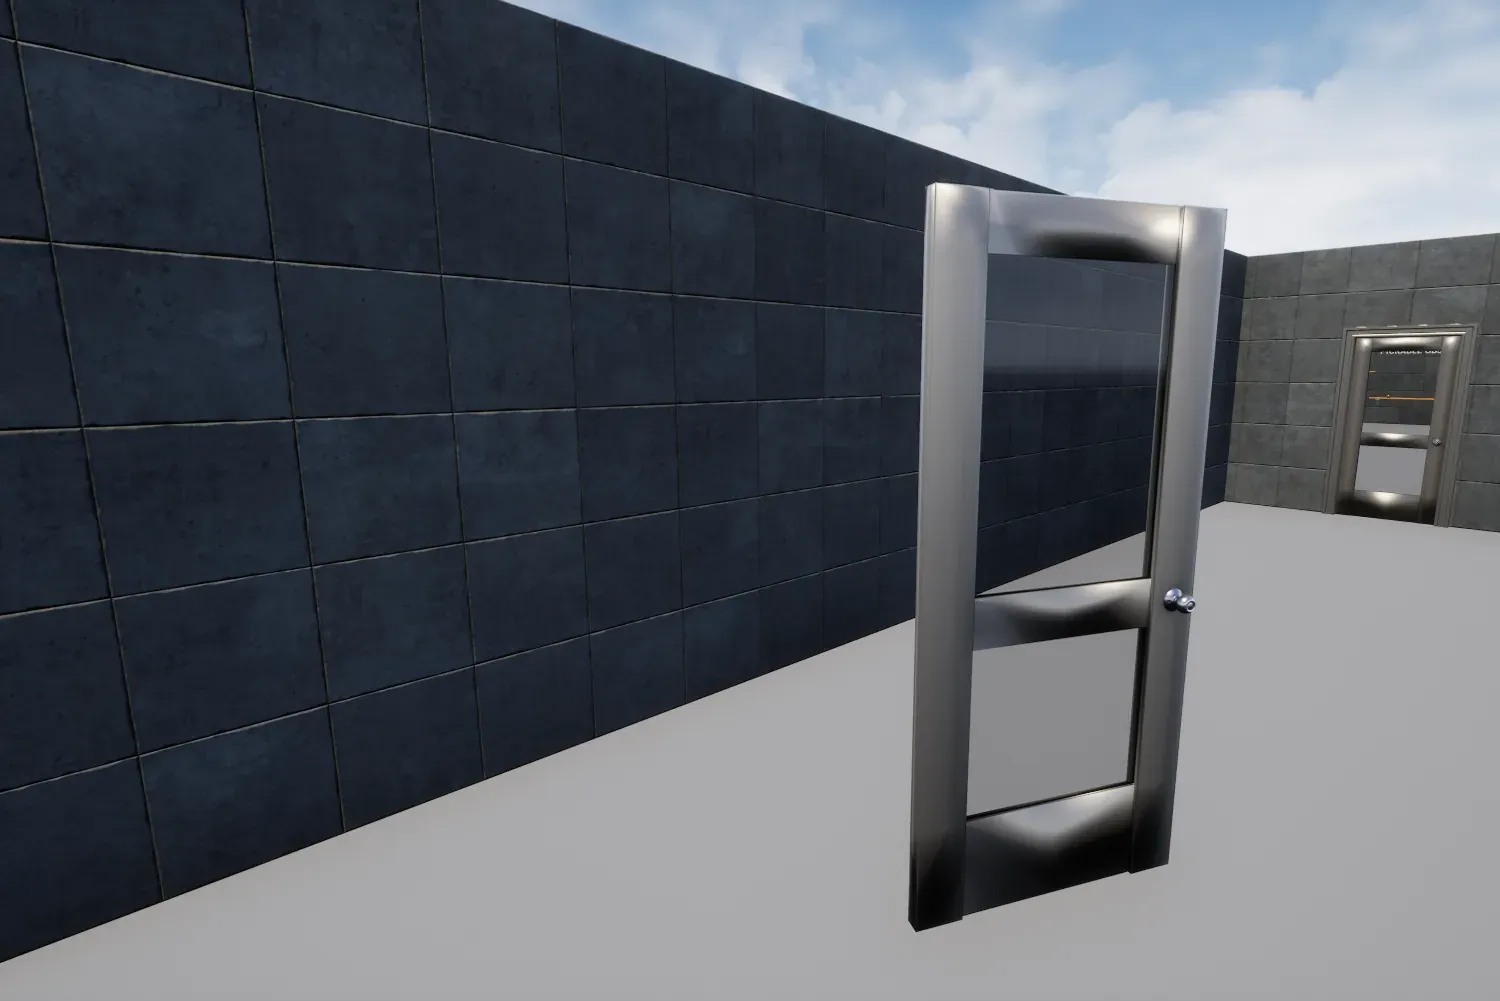
If something is off
Section titled “If something is off”- The character does not walk to a side, or stops short of it: Move To This Component or Looking Point points at a component the door does not have. The Output Log then shows
Component '<name>' (<class>) not found on <actor> (class <class>). Select the component again in the settings.An empty reference names no component and writes no warning, so check that both fields are set. - Nothing happens from either side: the character finds the door only while its trigger overlaps one of the door’s components. Check that
OverlapBoxhas Generate Overlap Events on and covers the door’s opening. - The character uses the other side, or no side: check Interaction Angle Min and Interaction Angle Max on both sides. The angles are measured from the door’s forward direction, positive towards its right.
- The door opens and swings back closed at once: the step 5 graph is missing or not wired. Check that the return value of Get Anim Instance is wired to the Target pin of On State Changed, and that its New State pin is connected.
- The character plays its montage but the door does not: check that Mesh Component On Object of the action is
DoorMesh, and thatDoorMeshhas the Anim ClassABP_Door_Rig_Skeleton. - Nothing happens and no prompt shows: the character does not face the door. Turn towards the door until the prompt appears. The angle is measured to the door’s root unless an angle detection component is set.
- Nothing happens although you are close and facing the door: the current state has no action. Check Initial Object State and the Required State Tag of each entry. To see why a use is refused, type
log CISLog Login the console, play again and look forCISLoglines in the Output Log.