GUIDESPICKUP ITEM
Pickup item
This guide makes BP_MyPickup, an item the character walks up to from any side, picks up with a pick-up animation, and removes from the level. The animation matches the height of the item: a low item is picked up from the floor, a higher one from a table. You do it in six steps, with one short graph and no other code.
You need
Section titled “You need”- You have followed Quick start, so you know how a side and its actions are set up.
- Any Static Mesh for the item, for example the engine’s basic cube; a mesh of your own works too, if its pivot is at its bottom.
- The demo character
BP_CISCharacterand the demo classesBP_MoveToDistanceMoveHandlerandBP_InteractionObjectActionPickUp, which ship with the plugin. The demo move handler moves onlyBP_CISCharacter: with your own character the action still runs, but without the walk to the item.
Then follow these steps in order.
-
In the Content Browser, choose Add › Blueprint Class, pick Actor as the parent class and name the Blueprint BP_MyPickup. Open it and add these components:
- A Static Mesh named
ItemMesh, with your item’s mesh. Set its Scale to 0.3 and its Location Z to 15, so the mesh sits on the origin of the actor: the origin is the bottom of the item. Keep its default collision: the character finds the item only while its trigger overlaps one of the item’s components, and a static mesh with default collision generates the overlap events that make this happen. - The interaction object component. Click Add, search for
CISInteraction Objectand add it. Its class isUCISInteractionObjectComponent, and its component name isCISInteractionObject.
Open Class Defaults and, under Replication, turn on Replicates, so that the item’s removal reaches every player in a multiplayer game.
- A Static Mesh named
-
Make it usable from every side. Select
CISInteractionObject. Under Interaction Settings, set Interaction Distance to 300, and set Object Priority to 1. Object Priority adds to the score the character gives each object in reach; the demo character also scores distance and view, and the object with the highest total is used. Turn on Override Character Interaction Angle and set it to 180. The character’s view then accepts the item anywhere in front of it, up to 90 degrees to each side of where the character looks, so the character must still face roughly towards the item.Under Interaction Sides, click + to add one side. Set Interaction Angle Min to 0 and Interaction Angle Max to 0, and turn on Angle Side. With both angles at 0 and Angle Side on, the side is the whole circle around the item, so the item can be used from every side.
-
Walk up to it. On the side, set Interaction Object Side Move Handler to
BP_MoveToDistanceMoveHandler, set Move To This Component toDefaultSceneRoot, the root of the Blueprint, set Looking Point toItemMesh, so the camera turns to the item, and set Move Distance to 60, the value the demo item uses. The character stops 60 cm from the item’s origin, on the side it comes from, and then the action starts. -
Pick it up. Under Interaction Object Side Actions, click + and fill the entry: Interaction Object Action
BP_InteractionObjectActionPickUp, and New State After Finish ActionCIS.PickObject.Picked. Leave Required State Tag empty, and leave Initial Object State ofCISInteractionObjectempty too: the item has no state before it is picked up.The action plays one pick-up montage, chosen by the height of the item. Its Pick Up Montages map gives
Man_PickUp_Floor_Montagefor height 0,Man_PickUp_Table_Montagefor 80 andMan_PickUp_Top_Montagefor 170, in centimetres above the character’s feet. The action measures the height of the item’s origin above the feet and plays the montage whose height is nearest. A buyer with their own mesh should check that its pivot is at the bottom: a pivot at the centre counts as half the item’s height above the floor. When the montage ends, the action sets the item’s state toCIS.PickObject.Picked.Settings Interaction Settings Interaction Sides 1 Array element Index [ 0 ] Interaction Angle Min 0.0 Interaction Angle Max 0.0 Angle Side Interaction Object Side Move Handler Move To This Component DefaultSceneRoot Looking Point ItemMesh Move Distance 60 Continue Tick After Finish Movement Instancing Policy Net Execution Policy With Replication Interaction Object Side Actions 1 Array element Index [ 0 ] Required State Tag Interaction Object Action New State After Finish Action CIS.PickObject.Picked Instancing Policy Net Execution Policy With Replication Action Execution Type Debug Data Interaction Distance 300.0 Angle Detection Component Override Character Interaction Angle Override Character Interaction Angle 180.0 Object Interruption Type Override Object Use Time Override Object Use Time 0.0 Visible Conditions 0 Array element Usable Conditions 0 Array element Override Data Object Class Data Object Class None Object Priority Transfer Ownership During Use Manage Owner Dormancy Max Use Duration 0.0 The interaction settings of BP_MyPickup after step 4. One side, used from every direction, with the pick-up action and its new state. -
Remove it after the pickup. Select
CISInteractionObject, and in the Event Graph add its On Object State Changed Delegate event; the node is titled On Object State Changed Delegate (CISInteractionObject). Its New State pin gives the state the item has now.- Add an Equal (GameplayTag) node (search for
==), set its second pin toCIS.PickObject.Pickedand wire New State to its first pin. Add a Branch, wire the event’s execution pin to its Execute pin, and wire the equal node to its Condition. - From the True pin of the branch, add Destroy Actor, and wire the True pin to its Execute pin.
The event also runs on clients when the replicated state reaches them. The server’s call removes the item, and the removal reaches every player because the item replicates. The same call on a client has no effect.
On Object State Changed Delegate (CISInteractionObject)New State==CIS.PickObject.PickedBranchTrueConditionFalseBLUEPRINTDestroy ActorTarget is ActorTargetThe Event Graph of BP_MyPickup. When the item's state becomes picked up, the item is destroyed. - Add an Equal (GameplayTag) node (search for
-
Place it and play. Open
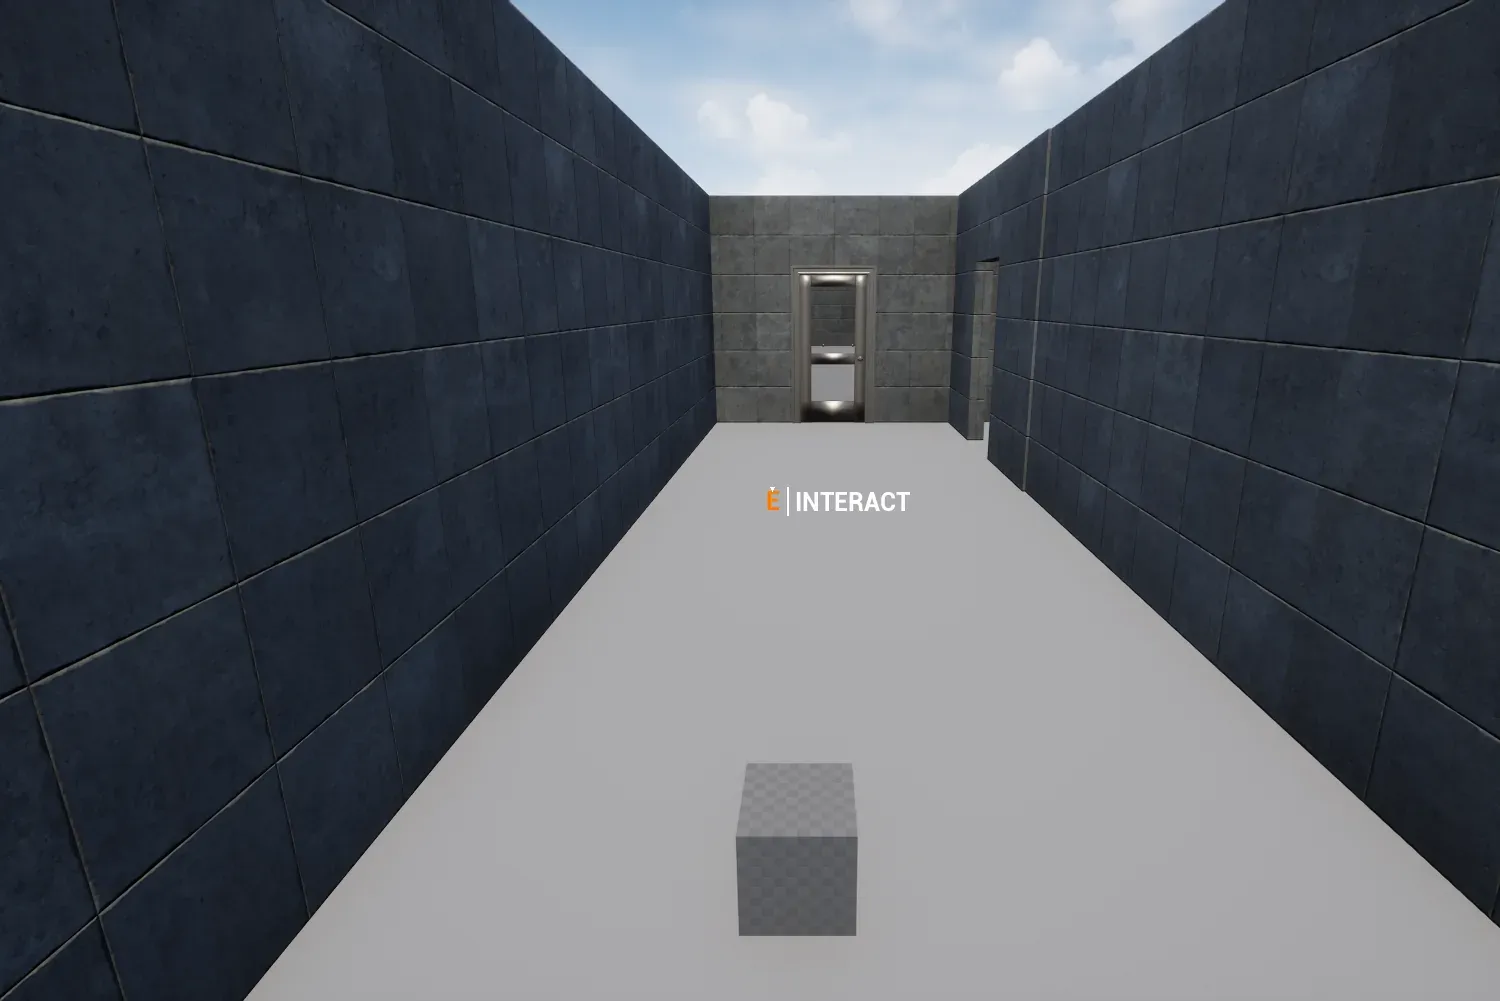
/CharacterInteractionSystem/Demo/Levels/CISExampleMap, drag BP_MyPickup into the map near the demo character’s start, click Play, walk up to the item and press E.
Key settings
Section titled “Key settings”| Setting | What it does |
|---|---|
| Object Priority | Adds to the score the character gives each object in reach, and the object with the highest total is used. The item uses 1; the range is 0 to 10. |
| Angle Side | Uses the part of the circle outside the range between the two angles. With both angles at 0 and Angle Side on, the item can be used from every side. |
| Override Character Interaction Angle | Replaces the character’s own view angle for this item. 180 accepts the item anywhere in front of the character, up to 90 degrees to each side; the character must still face roughly towards it. |
| Move To This Component, Looking Point and Move Distance | The move handler’s Move To This Component is the reference point (DefaultSceneRoot, the item’s origin), Looking Point is what the camera turns to (ItemMesh), and Move Distance is how far from the reference point the character stops, 60 cm here. The demo item uses 60. |
| New State After Finish Action | The state the item gets when the pick-up montage ends. The graph in step 5 waits for CIS.PickObject.Picked. |
Check that it works
Section titled “Check that it works”- Walk up to the item from any side, face it and press E: the character walks to the item, plays the pick-up montage, and the item disappears.
- Place two items at about the same distance in front of the character, one with Object Priority 1 and one with 5: the character picks up the one with 5 first.
If something is off
Section titled “If something is off”- The item does not disappear: the state the graph waits for is not the one the action sets. Check New State After Finish Action of the pick-up action, and that the Equal (GameplayTag) node in step 5 has
CIS.PickObject.Picked. - The item disappears for the server or the listen host but stays on clients: Replicates is off in Class Defaults. Turn it on under Replication, so the removal reaches every machine.
- The character does not walk up to the item: check that Move To This Component of the move handler names
DefaultSceneRoot, the root of the Blueprint. - Nothing happens when you press E near the item: check that its Static Mesh keeps default collision, that the character stands within 300 cm and faces the item.
- The item moves when the character walks into it: keep the item out of the path the character walks.