GUIDESLEVER AND LOCKED DOOR
Lever and locked door
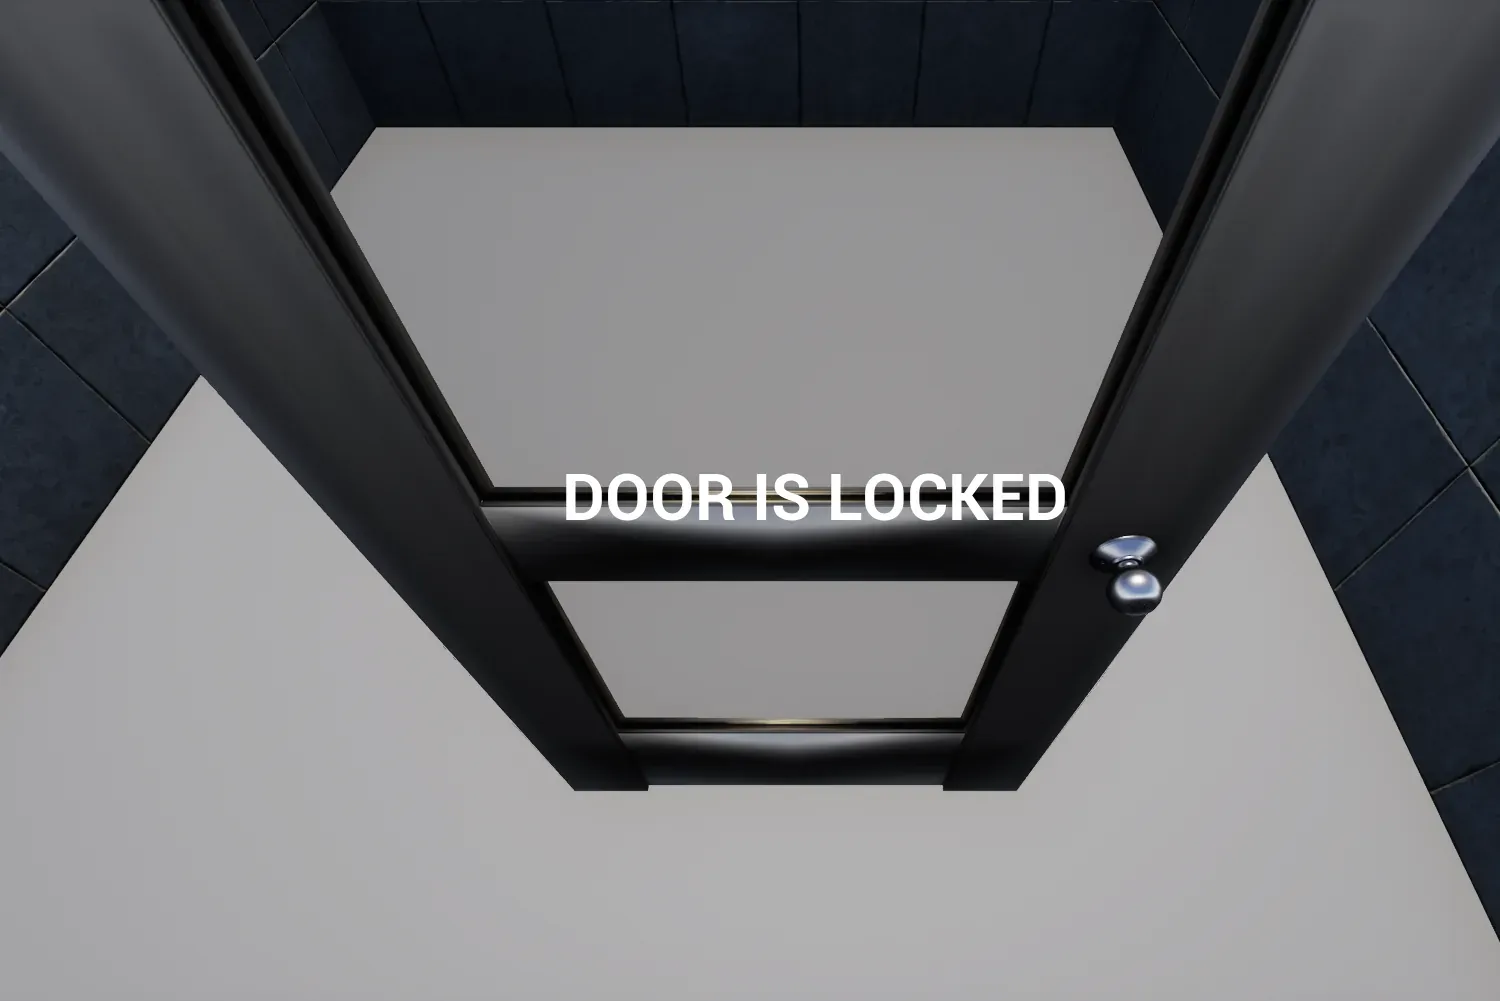
This guide makes a door that stays locked until a lever is pulled. BP_MyLockedDoor is a copy of BP_MyDoor with a lock: while it is locked, the character plays a montage that tries the handle, and a hint on the screen says DOOR IS LOCKED. BP_MyLever unlocks it when the player pushes the lever. You do it in five steps, with two short graphs and no other code.
You need
Section titled “You need”- You have followed Two-sided door, so BP_MyDoor exists and works from both sides.
- The demo character
BP_CISCharacter, which ships with the plugin. Its data objectBP_CISDataObjectis the parent of the data object in step 3. - The demo lever mesh
/CharacterInteractionSystem/Demo/Meshes/Lever/Lever_Meshand its Anim BlueprintLever_Mesh_Skeleton_AnimBlueprint, which ship with the plugin. Its montages are named in step 1. - The demo hint widget
WBP_Hintand the demo classesBP_InteractionObjectActionPlayMontageandBP_MoveToComponentMoveHandler, which ship with the plugin.
Then follow these steps in order.
-
In the Content Browser, choose Add › Blueprint Class, pick Actor as the parent class and name the Blueprint BP_MyLever. Open it and add these components:
- A Skeletal Mesh named
LeverMesh. Set its Skeletal Mesh to/CharacterInteractionSystem/Demo/Meshes/Lever/Lever_Mesh, its Animation Mode to Use Animation Blueprint and its Anim Class toLever_Mesh_Skeleton_AnimBlueprint. Without the Anim Class the lever’s montage cannot play, and the lever stays still. - A Box Collision named
OverlapBox, sized to cover the lever, with Generate Overlap Events on. The character finds the lever only while its trigger overlaps one of the lever’s components, and a skeletal mesh has no overlap events by default, so the box gives the lever one. - An Arrow named
Arrowattached to the root. It marks the spot where the character stands while it pulls the lever. - A Scene component named
InteractPoint, attached toLeverMesh. It is the point the character looks at. - The interaction object component. Click Add, search for
CISInteraction Objectand add it. Its class isUCISInteractionObjectComponent, and its component name isCISInteractionObject.
Open Class Defaults and, under Replication, turn on Replicates, so that the state reaches every player in a multiplayer game.
Select
CISInteractionObject. Under Settings, set Initial Object State toCIS.Lever.Pulled. Under Interaction Settings, set Interaction Distance to 500. Under Interaction Sides, click + to add one side, and set Interaction Angle Min to 180 and Interaction Angle Max to 30. Set Interaction Object Side Move Handler toBP_MoveToComponentMoveHandler, Move To This Component toArrowand Looking Point toInteractPoint. The demo move handler moves onlyBP_CISCharacter: with your own character the action still runs, but without the walk to the point.Under Interaction Object Side Actions, click + twice and fill the two entries. Entry 0, the lever pulled and then pushed: Required State Tag
CIS.Lever.Pulled; Interaction Object ActionBP_InteractionObjectActionPlayMontage; Montage On CharacterAnimSequence_CharacterLever_Push_Montage; Montage On ObjectLever_Push_Montage; Mesh Component On ObjectLeverMesh; New State After Finish ActionCIS.Lever.Pushed. Entry 1, the lever pushed and then pulled: Required State TagCIS.Lever.Pushed; Interaction Object ActionBP_InteractionObjectActionPlayMontage; Montage On CharacterAnimSequence_CharacterLever_Pull_Montage; Montage On ObjectLever_Pull_Montage; Mesh Component On ObjectLeverMesh; New State After Finish ActionCIS.Lever.Pulled. The other fields of both entries stay as they are.Settings Interaction Settings Interaction Sides 1 Array element Index [ 0 ] Interaction Angle Min 180.0 Interaction Angle Max 30.0 Angle Side Interaction Object Side Move Handler Move To This Component Arrow Looking Point InteractPoint Continue Tick After Finish Movement Instancing Policy Net Execution Policy With Replication Interaction Object Side Actions 2 Array elements Index [ 0 ] Required State Tag CIS.Lever.Pulled Interaction Object Action Montage On Character AnimSequence_CharacterLever_Push_Montage Montage On Object Lever_Push_Montage Mesh Component On Object LeverMesh New State After Finish Action CIS.Lever.Pushed Instancing Policy Net Execution Policy With Replication Index [ 1 ] Required State Tag CIS.Lever.Pushed Interaction Object Action Montage On Character AnimSequence_CharacterLever_Pull_Montage Montage On Object Lever_Pull_Montage Mesh Component On Object LeverMesh New State After Finish Action CIS.Lever.Pulled Instancing Policy Net Execution Policy With Replication Action Execution Type Debug Data Interaction Distance 500.0 Angle Detection Component Override Character Interaction Angle Override Character Interaction Angle 0.0 Object Interruption Type Override Object Use Time Override Object Use Time 0.0 Visible Conditions 0 Array element Usable Conditions 0 Array element Override Data Object Class Data Object Class None Object Priority Transfer Ownership During Use Manage Owner Dormancy Max Use Duration 0.0 Initial Object State CIS.Lever.Pulled The interaction object settings of BP_MyLever after step 1. One side, with the Pulled and Pushed action entries. - A Skeletal Mesh named
-
Lock the door. In the Content Browser, right-click BP_MyDoor and choose Duplicate, then rename the copy BP_MyLockedDoor. Open it, select
CISInteractionObjectand set Initial Object State toCIS.Door.ClosedOnKey.Under Interaction Object Side Actions of the front side (side 0), click Insert above the first entry, so that the new entry is first. Fill it: Required State Tag
CIS.Door.ClosedOnKey; Interaction Object ActionBP_InteractionObjectActionPlayMontage; Montage On CharacterAnimSequence_CharacterClosedDoor_Montage; turn off Set New State After Finish Action, so that the door stays inCIS.Door.ClosedOnKeyafter the montage. The other two entries of the front side stay as they are: they can be used only once the door is unlocked.The back side gets no entry for
CIS.Door.ClosedOnKey. While the door is locked, the back side has no action for its state, so the character cannot use the door from behind.Still in BP_MyLockedDoor, open Class Defaults and, under Replication, turn on Replicates, so that the locked state and its unlock reach every player in a multiplayer game.
The copy keeps the pose graph from Two-sided door, so the door’s Animation Blueprint keeps the pose from the state it receives. It shows
CIS.Door.ClosedOnKeyas closed, and the leaf stays closed until the door is unlocked.Settings Interaction Settings Interaction Sides 2 Array elements Index [ 0 ] Interaction Angle Min -80.0 Interaction Angle Max 80.0 Angle Side Interaction Object Side Move Handler Move To This Component ForwardPosition Looking Point ForwardPoint Continue Tick After Finish Movement Instancing Policy Net Execution Policy With Replication Interaction Object Side Actions 3 Array elements Index [ 0 ] Required State Tag CIS.Door.ClosedOnKey Interaction Object Action Montage On Character AnimSequence_CharacterClosedDoor_Montage New State After Finish Action Instancing Policy Net Execution Policy With Replication Index [ 1 ] Index [ 2 ] Action Execution Type Debug Data Index [ 1 ] Interaction Angle Min 95.0 Interaction Angle Max -95.0 Angle Side Interaction Object Side Move Handler Interaction Object Side Actions 2 Array elements Index [ 0 ] Index [ 1 ] Action Execution Type Debug Data Interaction Distance 120.0 Angle Detection Component Override Character Interaction Angle Override Character Interaction Angle 0.0 Object Interruption Type Override Object Use Time Override Object Use Time 0.0 Visible Conditions 0 Array element Usable Conditions 0 Array element Override Data Object Class Data Object Class None Object Priority Transfer Ownership During Use Manage Owner Dormancy Max Use Duration 0.0 Initial Object State CIS.Door.ClosedOnKey The interaction settings of BP_MyLockedDoor after step 2. The front side starts with the locked entry. -
Tell the player the door is locked. In the Content Browser, choose Add › Blueprint Class, pick BP_CISDataObject as the parent class and name the Blueprint BP_MyLockedDoorData. Open it, and in the Event Graph add the nodes below. The event runs on the player’s machine when the character starts an action on an object that uses this data object.
- Add the Event OnObjectActionStarted event, and the Parent: OnObjectActionStarted node after it. Wire the event’s execution pin to the node’s execution pin, and wire each of the event’s parameters to the parameter of the same name on the node.
- Add Get Object State and wire the event’s InteractionObjectComponent pin to its target. Add an Equal (GameplayTag) node (search for
==), wire the return value of Get Object State to its first pin and set its second pin toCIS.Door.ClosedOnKey. Add a Branch, wire the Parent node’s execution output to the Branch’s execution input, and wire the equal node to its Condition. - On the True pin of the branch, add Create WBP Hint Widget and set its Class to
WBP_Hint. Set Text toDOOR IS LOCKEDand Speed to 0.7. Wire the event’s Character to its World Context Object. - Add Add to Viewport. Wire the execution output of Create WBP Hint Widget to its execution input, and wire the widget’s return value to its target.
Event OnObjectActionStartedActionCharacterCharacter Interaction ComponentInteraction Object ComponentParent: OnObjectActionStartedActionCharacterCharacter Interaction ComponentInteraction Object ComponentGet Object StateTarget is CISInteraction Object ComponentTargetReturn Value==CIS.Door.ClosedOnKeyBranchTrueConditionFalseCreate WBP Hint WidgetWorld Context ObjectReturn ValueClassOwning PlayerTextDOOR IS LOCKEDSpeed0.7BLUEPRINTAdd to ViewportTarget is User WidgetTargetZ OrderThe Event Graph of BP_MyLockedDoorData. When the player uses the locked door, the branch shows the hint on the screen. Back in BP_MyLockedDoor, select
CISInteractionObject. Under Interaction Settings, turn on Override Data Object Class and set Data Object Class to BP_MyLockedDoorData. Only the player’s machine has the data object, so the hint is shown only to the player who uses the door. -
Open the lock with the lever. In BP_MyLever, add a variable named DoorToUnlock of type Actor and turn on Instance Editable, so each lever can name its door. Then, in the Event Graph, add the nodes below.
- Select
CISInteractionObjectand add its On Object State Changed Delegate event; the node is titled On Object State Changed Delegate (CISInteractionObject). Its New State pin gives the state the lever has now. - Keep the lever’s pose the same way as the door in Two-sided door, step 5: drag LeverMesh into the graph, call Get Anim Instance on it, and from its return value call On State Changed, the message of BPI_InteractionObject. Wire the event’s execution pin to the message’s execution pin, and wire the event’s New State to the message’s New State. Wire the message’s execution output into the first Branch of the chain below, so the message comes first and the unlock checks come after it.
- Add an Equal (GameplayTag) node (search for
==), set its second pin toCIS.Lever.Pushed, and wire New State to its first pin. Add a Branch and wire the equal node to its Condition. - On the True pin of that branch, add a second Branch whose condition is Is Server. Set the door’s state on the server, so the unlock runs there only.
- On the server branch’s True pin, add Get Component by Class on DoorToUnlock, with Component Class set to CISInteraction Object Component. Add Get Object State on its return value, an Equal (GameplayTag) node (search for
==) withCIS.Door.ClosedOnKey, and a Branch on that. The state check means that pushing the lever when the door is already open does not change it. The False pin of that branch stays empty. - On the True pin of the state branch, add Set Object State on the same component. Its New State pin must be wired, so add Make Literal Gameplay Tag with
CIS.Object.Door.Closedand wire its return value to New State.
On Object State Changed Delegate (CISInteractionObject)New State==CIS.Lever.PushedBranchTrueConditionFalseIs ServerReturn ValueBranchTrueConditionFalse==CIS.Door.ClosedOnKeyBranchTrueConditionFalseSet Object StateTarget is CISInteraction Object ComponentTargetNew StateMake Literal Gameplay TagValueCIS.Object.Door.ClosedDoor to UnlockDoor to UnlockGet Component by ClassTarget is ActorTargetReturn ValueComponent ClassCISInteraction Object ComponentGet Object StateTarget is CISInteraction Object ComponentTargetReturn ValueLever MeshLever MeshGet Anim InstanceTarget is Skeletal Mesh ComponentTargetReturn ValueBLUEPRINTOn State ChangedTarget is BPI Interaction ObjectTargetNew StateThe Event Graph of BP_MyLever. When the lever is pushed on the server, the door it names goes from its locked state to closed. - Select
-
Place them and play. Open
/CharacterInteractionSystem/Demo/Levels/CISExampleMap, drag BP_MyLockedDoor and BP_MyLever into the map, and select the lever. In its Details panel, set Door To Unlock to BP_MyLockedDoor. Click Play, walk to the front of the locked door and press E. Then walk to the lever’s Arrow side, face the lever, press E on it, and walk back to the door.
Key settings
Section titled “Key settings”| Setting | What it does |
|---|---|
| Initial Object State | The state the object starts in. The locked door starts in CIS.Door.ClosedOnKey, and the lever in CIS.Lever.Pulled. |
| Set New State After Finish Action | Sets the action’s new state when the action finishes. It is off on the locked entry, so the door stays locked. |
| Override Data Object Class and Data Object Class | The data object class the object uses for the player. Turn on the override to use BP_MyLockedDoorData instead of the character’s own data object. |
UCISInteractionObjectComponent::SetObjectState | Sets the object’s state. It sets the state on the machine it runs on, and on a client the change stays local, so call it on the server. |
OnObjectStateChangedDelegate | Fires on every machine when the object’s state changes, so the lever can react to its own state. On clients it fires when the replicated state arrives, so the Blueprints need Replicates. |
Check that it works
Section titled “Check that it works”- From the front, press E on the locked door: the character tries the handle, and the hint DOOR IS LOCKED appears on the screen. From the back, nothing happens.
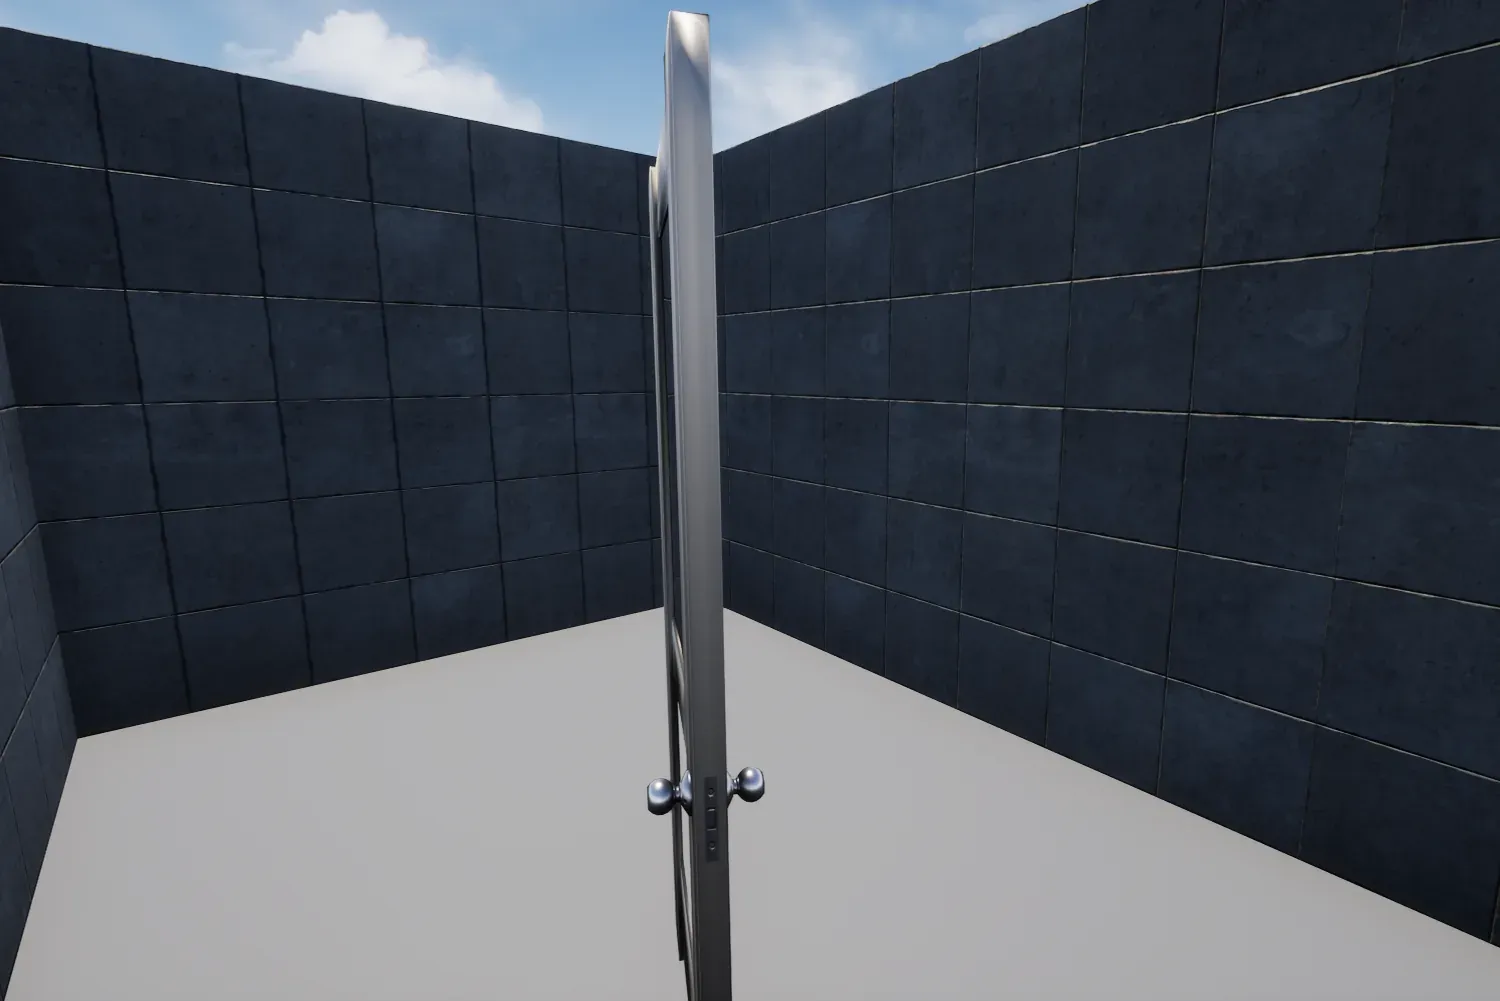
- Press E on the lever: its state changes to
CIS.Lever.Pushed, and the locked door changes to closed. From the front, press E on the door: it opens towards the character, as in the two-sided door guide. - Press E on the lever again: its state returns to
CIS.Lever.Pulled, and the door stays as it is.
If something is off
Section titled “If something is off”- The lever moves and then swings back at once: the On State Changed message in step 4 is missing, or the return value of Get Anim Instance on LeverMesh is not wired to its Target pin.
- The lever does nothing, or the door never unlocks: Door To Unlock on the lever in the level is empty, or it names an actor that is not the locked door.
- The Output Log warns that a change is local only and should be called on the server: the unlock runs on a client. Put the unlock branch behind Is Server. The server still unlocks the door; each client only changes its own copy, so the door looks unchanged there.
- The door does not unlock in a networked game, and the warning is absent: check that Door To Unlock on the lever names the locked door.
- No hint appears when the locked door is used: the door’s Override Data Object Class is off, or Data Object Class is not BP_MyLockedDoorData.
- The lever’s montage plays but the lever does not move: check that Mesh Component On Object is
LeverMeshand thatLeverMeshhas the Anim ClassLever_Mesh_Skeleton_AnimBlueprint. - Nothing happens and no prompt shows near the lever: the lever’s Box Collision does not have Generate Overlap Events on, or it does not cover the lever. Stand on the side of the lever that the Arrow points to and face the lever, because the lever uses the character’s own look angle.
- The door unlocks on the server (or for the host of a listen server) but stays locked on every client: Replicates is off on the lever or the door. Turn it on under Class Defaults, in Replication.