GUIDESYOUR OWN CHARACTER
Your own character
This guide adds Character Interaction System to BP_MyCharacter, your own Character Blueprint. The character gets the interaction component, a trigger that finds the objects around it, the interaction settings, and a use button on E and the gamepad’s bottom face button. You do it in five steps, with one short graph and no code.
You need
Section titled “You need”- Your own Character Blueprint BP_MyCharacter that already uses Enhanced Input: an Input Mapping Context is added to the player, so the character gets its key presses.
- Character Interaction System enabled in your project, as in Installation.
- A switch to check with. Build BP_MySwitch from Quick start, and place it in your map.
- The demo move handler moves only
BP_CISCharacter: objects that use it do not walk your character to their point.
Then follow these steps in order.
-
Add the component. Open BP_MyCharacter and, in the Components panel, click Add, search for
CISCharacter Interactionand add it. Its class isUCISCharacterInteractionComponent, and its component name isCISCharacterInteraction. The component reads the settings of the character and keeps track of the objects in reach. The component is set to replicate by default, and so is a Character, so you do not need to turn on anything else for multiplayer. The component starts on the machine that controls the character: the player’s machine for a player character, and the server for an AI that is possessed before it begins play. Another player’s character on this machine tracks nothing. An AI that gets its controller later, for example one spawned with Spawn AI From Class, tracks nothing until you call Init Character Interaction Component for it on the server. -
Add a trigger. In the Components panel, click Add and add a Capsule Collision attached to the root. Name it InteractionTrigger, and set its Capsule Half Height to 400 and its Capsule Radius to 400. Set its Collision Presets to
OverlapAllDynamic, so that it overlaps every kind of component. The character finds an object only while this trigger overlaps one of the object’s components. An object outside the trigger is not seen by the character at all.Select BP_MyCharacter and then
CISCharacterInteraction. Under Settings, open Character Interaction Settings and set Trigger Components: click +, and in the new entry set Component to InteractionTrigger. -
Set the character settings. Still under Character Interaction Settings, set these values:
- Interaction Angle to 120. An object is usable when the angle between the character’s forward direction and the object is at most half of this value, which is 60 degrees here. The default is 45.
- Time to Use Object to 0.25. The character holds the use button for this many seconds before the use starts. The use is cancelled if the button is released earlier.
- Tests to Determine Object for Use already holds one entry,
UCISUseObjectTest_ObjectPriority: keep it. It scores each object by its Object Priority, and the object with the highest total is used. The demo character adds two more tests (view and distance) with +; you can add them later. - Data Object Class is already set to
CISInteractionDataObject, the plugin’s own data object: leave it at its default. To use the demo’s data object, set it toBP_CISDataObject. That data object draws the object icons on the screen, but only for objects built fromBP_BaseInteractObject. The icons are not the use prompt: the prompt comes from the HUD, as step 5 explains. Data objects and their events are described in Data objects.
Settings Character Interaction Settings Interaction Angle 120.0 Time to Use Object 0.25 Trigger Components 1 Array element Index [ 0 ] Component Socket Name Tests to Determine Object for Use 1 Array element Index [ 0 ] Calculation Curve Test Multiplier 1.0 With Debug Debug Time 5.0 Debug Color Time to Clear Invalid Objects Data 90.0 Update Current Use Object Interval 0.1 Data Object Class CISInteractionDataObject The Character Interaction Settings of the component after step 3: the interaction angle, the hold time, one trigger, the priority test the component has by default, and the default data object class. -
Add the use button. In the Content Browser, choose Add › Input › Input Action, and name it IA_Interact. Open it and set its Value Type to Digital (bool): the button is either pressed or released.
Open the Input Mapping Context that your character already uses, and add a mapping for IA_Interact. Map it to the E key and to Gamepad Face Button Bottom. Both keys then send the same action.
Open BP_MyCharacter and add these nodes to the Event Graph. The Input Action node shows only Triggered by default: click the arrow at the bottom of the node to show the other pins, including Started and Completed. Do not use Triggered, because it fires every frame while the key is held.
- Add the EnhancedInputAction IA_Interact event. Wire its Started pin to the execution input of a Branch.
- Add Get for the variable CISCharacterInteraction, and call Is Character Use Any Object on it: wire the variable’s pin to the function’s target, and wire the function’s return value to the Branch’s Condition.
- On the True pin of the Branch, add Try Interrupt Object Using and set its Interruption Type to Interrupt After Second Press Button. Wire the Branch’s True pin to its execution input, and wire the variable’s pin to its target.
- On the False pin of the Branch, add Try Use Object. Wire the Branch’s False pin to its execution input, and wire the variable’s pin to its target.
- Add a second Try Interrupt Object Using node, set its Interruption Type to Interrupt After Release Button. Wire the Completed pin of the Input Action event to its execution input, and wire the variable’s pin to its target.
Releasing E during the hold always cancels the use. Once the use is running, a press or a release ends it only if the object’s Object Interruption Type matches the node’s Interruption Type; the Key settings table lists it.
EnhancedInputAction IA_InteractTriggeredStartedCompletedAction ValueCISCharacter InteractionCISCharacter InteractionIs Character Use Any ObjectTarget is CISCharacter Interaction ComponentTargetReturn ValueBranchTrueConditionFalseTry Interrupt Object UsingTarget is CISCharacter Interaction ComponentTargetReturn ValueInterruption TypeInterrupt After Second Press ButtonTry Use ObjectTarget is CISCharacter Interaction ComponentTargetBLUEPRINTTry Interrupt Object UsingTarget is CISCharacter Interaction ComponentTargetReturn ValueInterruption TypeInterrupt After Release ButtonThe Event Graph of BP_MyCharacter. Started sends the key press to the branch, Completed ends the hold. -
Test it. Place BP_MyCharacter in your map where the player starts. Open BP_MyCharacter, click Class Defaults, and set Auto Possess Player to Player 0, so that the placed character is the pawn the player controls. Place the switch BP_MySwitch a few metres in front of it, and click Play. Walk up to the switch, face it, and hold E until the switch clicks.
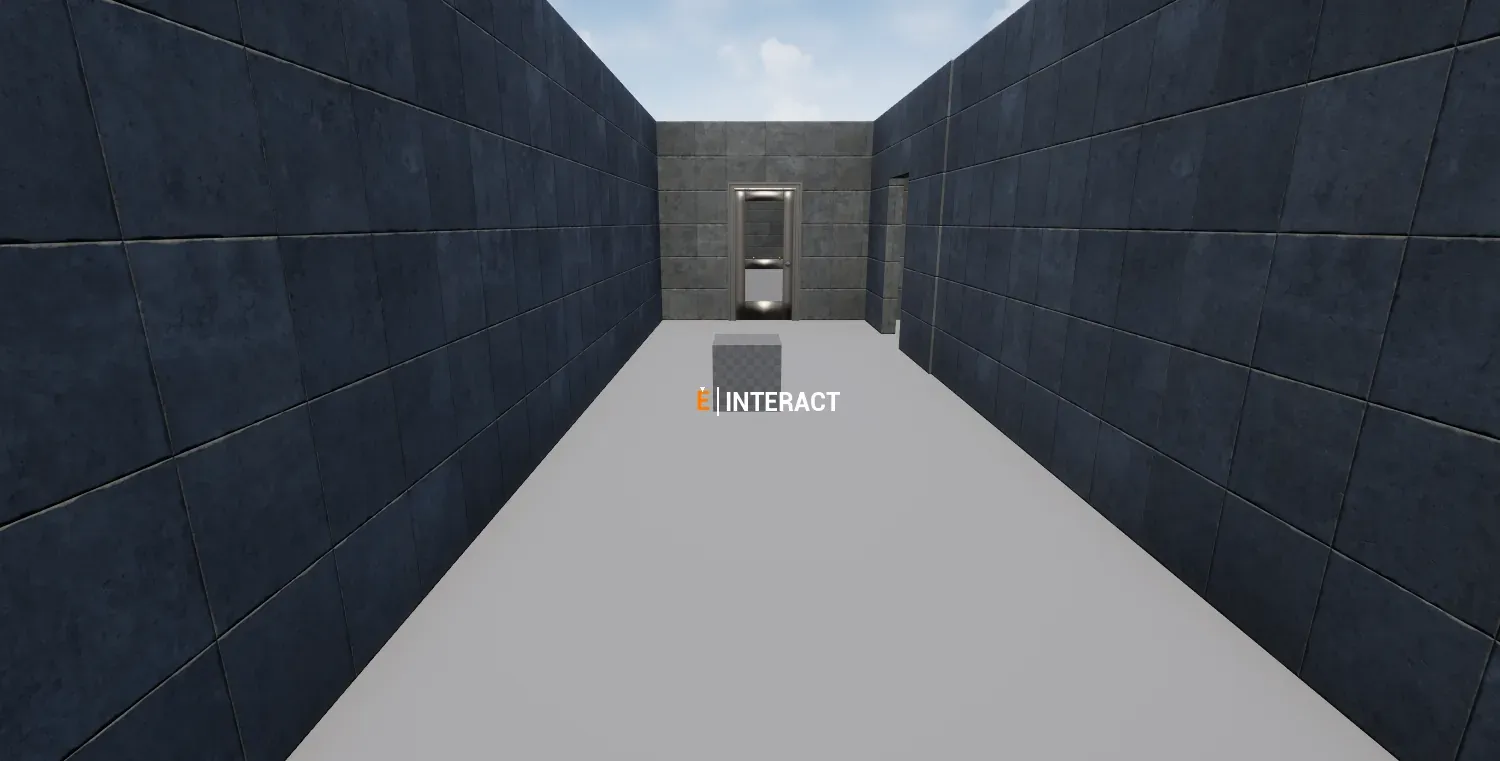
On the demo map, the demo HUD
BP_CISHUDshows the E | INTERACT prompt for the pawn you control, so the switch shows it there. In your own game, set your game mode’s HUD Class toBP_CISHUD, or show your own prompt.
Key settings
Section titled “Key settings”| Setting | What it does |
|---|---|
| Trigger Components | The components of the character that find objects. An object is found only while the trigger overlaps one of its components. |
| Interaction Angle | The angle the character can see objects in, measured from the forward direction, with half of it on each side. The default is 45; the demo character uses 120. |
| Time to Use Object | How long the character holds the use button before the use starts. The demo character uses 0.25 seconds. |
| Tests to Determine Object for Use | The tests that score the objects in reach. The object with the highest total is used. |
| Data Object Class | The data object the character uses to draw the object icons on the screen. It does not draw the use prompt. The default is the plugin’s own data object, CISInteractionDataObject. |
| Object Interruption Type (on an object’s component) | The button press that interrupts a use that is running on the object: Interrupt After Second Press Button or Interrupt After Release Button. None does not interrupt. |
Check that it works
Section titled “Check that it works”- Press and hold E near BP_MySwitch: the switch clicks and changes state. Let go before it clicks: the use is cancelled.
- Walk about 6 m away from the switch and face it: the character cannot use it from there, so pressing E does nothing.
If something is off
Section titled “If something is off”- The character never finds the object: the trigger does not overlap the object, or the object has no component with collision that generates overlap events. The object usually needs a Static Mesh with default collision, or a Box Collision with Generate Overlap Events turned on.
- Nothing happens when you press E, anywhere: the Input Mapping Context with IA_Interact is not added to the player, so the key does not reach the character. Add it to the player as your project does.
- The object is found, but the character does not face it: the object must lie within half of Interaction Angle from the character’s forward direction. With Interaction Angle 120, the switch is usable while it lies within 60 degrees of where the character faces. Turned 90 degrees away, it is not.
- The demo objects never respond to your character: most of them have the demo condition
BP_InteractionObjectCondition_IsObjectRenderedin their Usable Conditions, and it lets onlyBP_CISCharacteruse the object. Check your character with your own objects, such as the switch from Quick start. - A short tap of E does nothing: the character must hold the button for Time to Use Object before the use starts, and releasing it earlier cancels the use.